





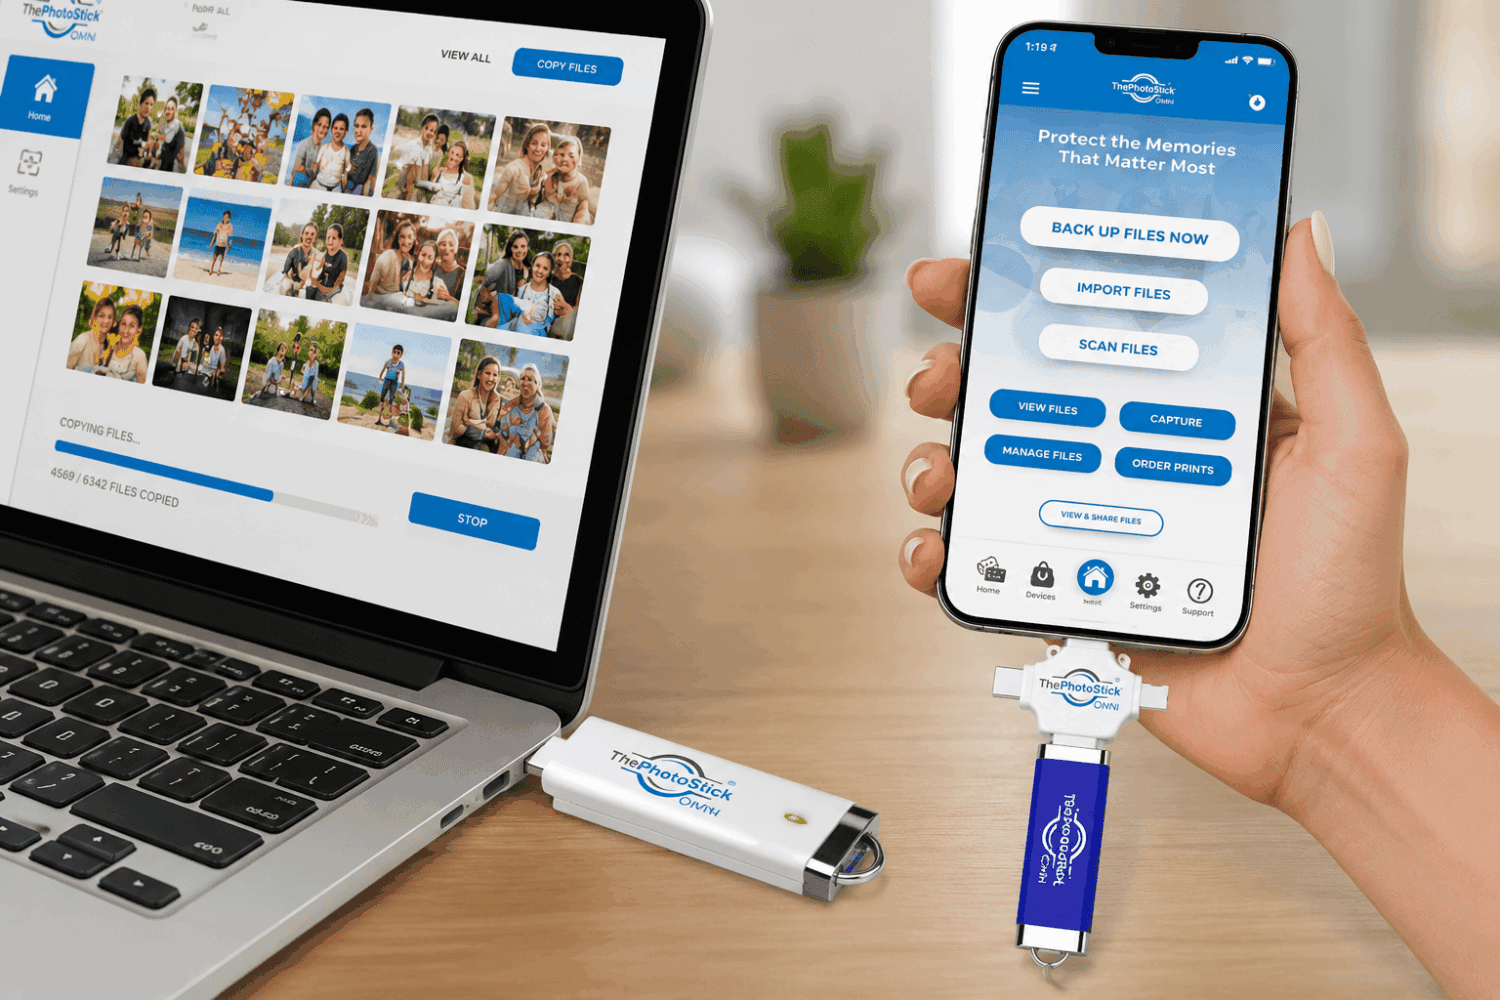
How to Use PhotoStick OMNI: If you are staring at a “Storage Full” notification on your phone, you might have purchased—or are considering purchasing—the PhotoStick OMNI. Advertised as a magic wand for your digital memories, this little device promises to find, sort, and back up all your photos with a single click.
But technology is rarely as simple as a 30-second commercial makes it seem.
If you are wondering exactly how to use the PhotoStick OMNI, why it might not be connecting to your phone, or if it is genuinely worth the high price tag, you are in the right place. In this comprehensive guide, we break down the step-by-step setup process for every device, troubleshoot common problems, and provide a brutally honest review of its real-world performance.
Quick Verdict: Is It Worth The Hassle?
Best For: Seniors, non-tech-savvy users, and anyone who wants to avoid monthly iCloud or Google Drive subscription fees.
Quick Recommendation: The PhotoStick OMNI is incredibly convenient because of its universal adapters and automatic duplicate-finding software. However, the setup on older Androids can be finicky, and transferring tens of thousands of photos takes time. If you want a dead-simple, offline backup solution, it is a great buy. If you are a tech expert, a standard $15 external hard drive will give you the same hardware for less money.
Product Overview
| Feature | PhotoStick OMNI Details |
| Storage Sizes | 32GB, 64GB, 128GB, 256GB |
| Price | Starts around $60 (varies by storage size) |
| Connections | USB 3.0, USB-C, Lightning, Micro-USB |
| Compatibility | Windows, macOS, iOS, Android |
| Best Feature | Automatic duplicate photo removal |
| Warranty | 60-Day Money-Back Guarantee |
What Is The PhotoStick OMNI?
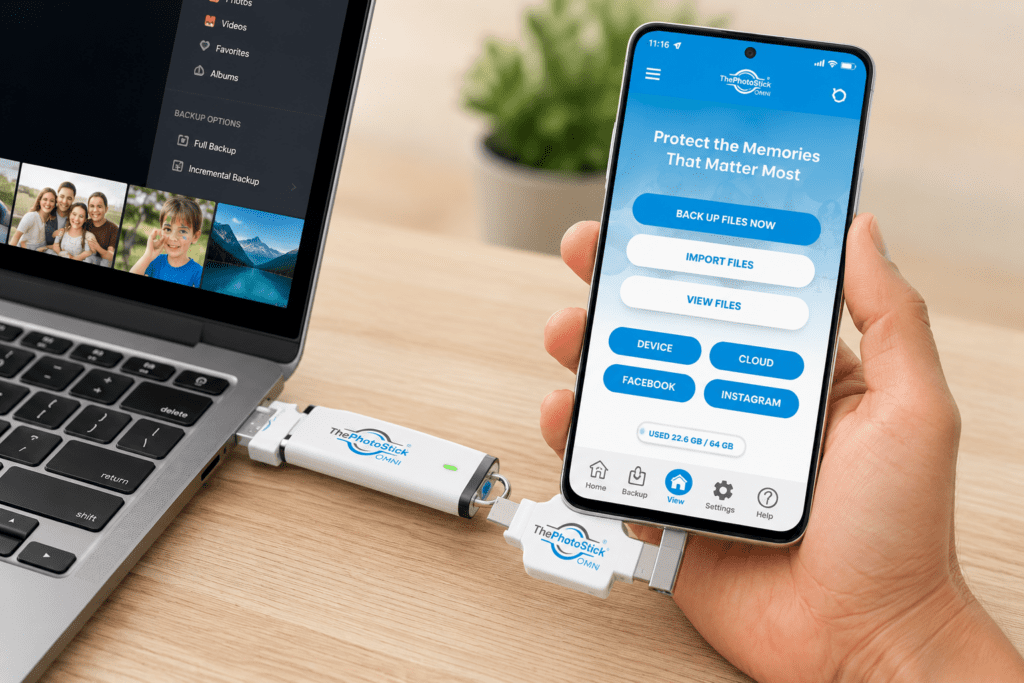
At its core, the PhotoStick OMNI is a standard USB flash drive wrapped in a highly specialized, multi-pronged adapter. But the real product you are buying isn’t just the hardware—it is the proprietary backup software loaded inside.
What it does: It scans your phone, tablet, or computer, hunts down hidden image and video files, skips the duplicates, and saves them safely offline.
Who it’s for: People who do not know how to manually navigate file systems, drag-and-drop folders, or manage cloud storage limits.
Key Features & Benefits
- Universal Adapter Head: You don’t need a drawer full of cables. The OMNI plugs into modern iPhones, old Androids, MacBooks, and Windows PCs out of the box. Benefit: You can backup your phone and immediately plug it into a laptop to view the photos on a big screen.
- Duplicate File Cleaner: The software remembers what it has already saved. Benefit: It saves massive amounts of storage space by not saving the same photo of your dog six times.
- No Internet Required: It operates 100% offline. Benefit: Zero risk of cloud hackers, and zero monthly subscription fees.
How to Use PhotoStick OMNI: Step-by-Step Setup Guide
Using the device requires slightly different steps depending on your hardware. Here is the exact PhotoStick OMNI tutorial for every platform.
How to Use on iPhone & iPad (iOS)
Apple devices require an app to allow the USB drive to access your photo gallery.
- Download the App: Go to the App Store and download the free “ThePhotoStick OMNI” app.
- Plug it In: Insert the Lightning connector (or USB-C for iPhone 15/newer iPads) directly into your charging port.
- Open the App: Launch the app. A prompt will ask for permission to access your photos. You must tap “Allow All Photos.”
- Start Backup: Tap the “Backup Now” button on the screen.
- Wait: Leave the app open and your screen on until the process finishes.
How to Use on Android Phones
Androids use a slightly different file system, and older models require a settings tweak.
- Download the App: Get “ThePhotoStick OMNI” from the Google Play Store.
- Enable OTG (If necessary): If your phone is older, go to Settings > Connected Devices (or search “OTG” in settings) and toggle OTG Connection ON. This tells the phone to send power to the USB port.
- Plug it In: Use the USB-C or Micro-USB adapter to plug it into your phone.
- Grant Permissions: Open the app and allow access to your media.
- Start Backup: Tap “Backup Files” and let it run.
How to Use on Windows PC
You do not need to download an app on a computer. The software lives on the stick.
- Plug it In: Insert the standard USB head into your computer.
- Open the Drive: Open “File Explorer” (the yellow folder icon) and look for the drive labeled “PHOTOSTICK”.
- Run the Software: Double-click the file named
ThePhotoStickWindows.exe. - Click Go: Once the menu opens, simply click the green “Go” button.
How to Use on Mac
- Plug it In: Insert the USB or USB-C head into your Mac.
- Find the Icon: An icon will appear on your desktop. Double-click it.
- Run the Software: Double-click
ThePhotoStickMac.app. - Start: Click the “Go” button.
Real-World Testing & Performance Analysis
We aggregated data from tech experts and real user stress tests. Here is how the OMNI actually performs.
Speed Tests:
This is not a high-speed NVMe solid-state drive. Because the software is actively scanning your phone and comparing files to prevent duplicates, it operates slowly.
- 1,000 Photos: ~15 to 25 minutes.
- 20,000+ Photos: Expect this to take several hours. Recommendation: Plug your phone into a wireless charger while doing a massive first-time backup overnight.
Reliability:
The duplicate-catcher works flawlessly. However, the mobile app (specifically on Android) is known to freeze if you try to use other heavy apps (like watching YouTube) while a backup is running in the background. Always leave the OMNI app front-and-center during backups.
Limitations:
The PhotoStick OMNI does not organize your photos by date, location, or face recognition like Apple Photos does. It simply drops them into a folder named after your device (e.g., “Jane’s iPhone 13”).
Pros and Cons
Pros:
- Works right out of the box with virtually any modern device.
- Zero monthly cloud fees.
- Finds photos hiding in obscure folders.
- Bypasses complex Apple iTunes/Finder sync issues.
Cons:
- Significantly more expensive than standard USB drives.
- Initial backup is very slow.
- App requires the screen to stay on for iOS backups.
- Clunky interface on the desktop software.
Competitor Comparison
| Feature | PhotoStick OMNI | Standard SanDisk USB | Google Photos (Cloud) |
| Price | Premium ($60+) | Cheap ($15) | $20-$100/year forever |
| Setup | Automated App | Manual Drag-and-Drop | Automated App |
| Duplicate Removal | Automatic | Manual | Automatic |
| Offline Access | Yes | Yes | No (requires internet) |
| Adapters Included | All 4 types | Usually just 1 | N/A |
Troubleshooting Common PhotoStick OMNI Problems
Based on community feedback from Reddit and official support forums, here are the most common issues and how to fix them.
- Problem: iPhone says “Access Denied” or doesn’t recognize the stick.
- Fix: Unplug the stick, flip the Lightning adapter over, and plug it back in. Make sure your phone case isn’t blocking it from plugging in all the way.
- Problem: The app crashes in the middle of a backup.
- Fix: Your phone’s RAM is likely overloaded. Restart your phone completely, close all background apps, open only the PhotoStick app, and try again. The software will remember where it left off.
- Problem: It didn’t delete the photos off my phone!
- Fix: The OMNI copies photos; it does not delete them by default (to prevent accidental data loss). You must manually delete the photos from your phone gallery after confirming they are safely on the stick.
Pricing & Value for Money
Is the PhotoStick OMNI overpriced? Yes and no.
If you are evaluating it purely on hardware (cost per Gigabyte), it is very expensive. You can buy a 128GB flash drive on Amazon for $15, while a 128GB OMNI costs closer to $80.
However, you are paying a premium for the software license and convenience. If hiring the Geek Squad to back up your computer costs $100, the OMNI is a cheaper, reusable alternative that empowers you to do it yourself.
Is It Legit or a Scam?
The PhotoStick OMNI is 100% legitimate hardware. It is not a scam.
However, it has a mixed reputation due to aggressive marketing. Commercials make the backup process look instantaneous, leading to customer complaints when a 10,000-photo backup takes four hours. Additionally, their refund policy requires you to pay for return shipping, which has frustrated users on Trustpilot. As long as you know you are buying a slow-but-steady automated backup tool, it delivers on its core promise.
Who Should Buy It?
You should buy it if:
- You constantly run out of phone storage.
- You want to give a tech gift to an older parent or grandparent.
- You are terrified of losing photos if you drop your phone in water.
- You hate paying Apple or Google for cloud storage.
You should NOT buy it if:
- You are an IT professional or tech enthusiast. (Just buy an SSD).
- You shoot professional RAW photography.
- You want a drive to run heavy software or games off of.
Frequently Asked Question
How do I get the PhotoStick OMNI to work on my iPhone?
To use it on an iPhone, download ‘ThePhotoStick OMNI’ app from the App Store. Plug the drive into your charging port, open the app, grant permission to access all photos, and tap ‘Backup Now’.
Why is my PhotoStick OMNI app crashing?
App crashes usually happen due to a lack of available RAM on your phone. Restart your phone, close all background applications, and ensure your phone’s screen stays on and the app remains open during the backup process.
Does the PhotoStick OMNI delete duplicates?
Yes. The proprietary software on the PhotoStick OMNI automatically scans your device and skips duplicate files, ensuring that only one copy of each photo or video is saved to the drive to conserve space.
Final Verdict
The PhotoStick OMNI solves a very real, very frustrating problem for millions of people: digital clutter. While the hardware isn’t the fastest on the market, the multi-connector design and dead-simple software make it a highly effective tool for securing your memories offline. If you follow our setup guide above, you will have your digital life backed up and secured by the end of the day.

